
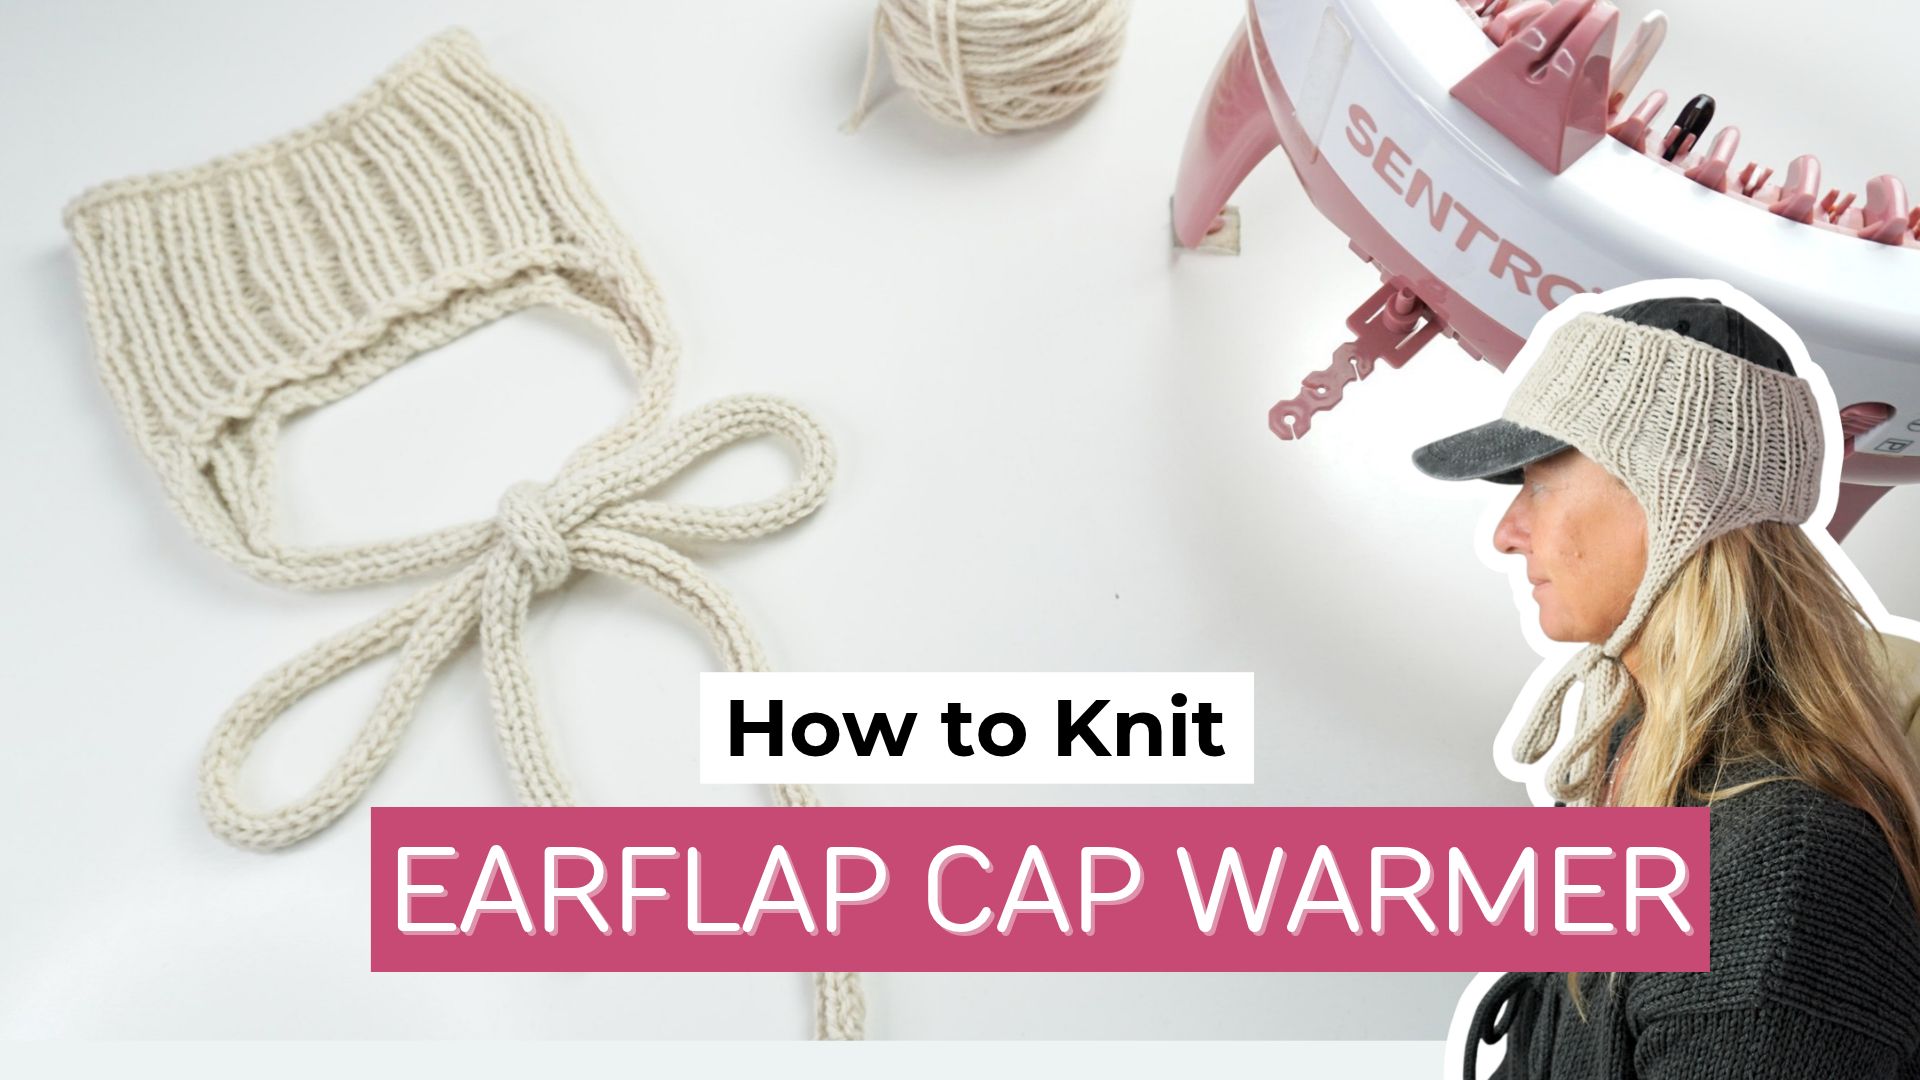
Have you seen the viral baseball cap ear warmer popping up all over social media? This clever knitted accessory has ear flaps and is designed to be worn over a baseball cap, making it both stylish and practical for chilly, windy days.
Since I live near the ocean, I often head out to check the surf during winter. The wind can get pretty cold, and keeping my cap on my head isn’t always easy. That’s what made me curious about this design. Could it be the perfect accessory for surfers and anyone who enjoys spending time outdoors?
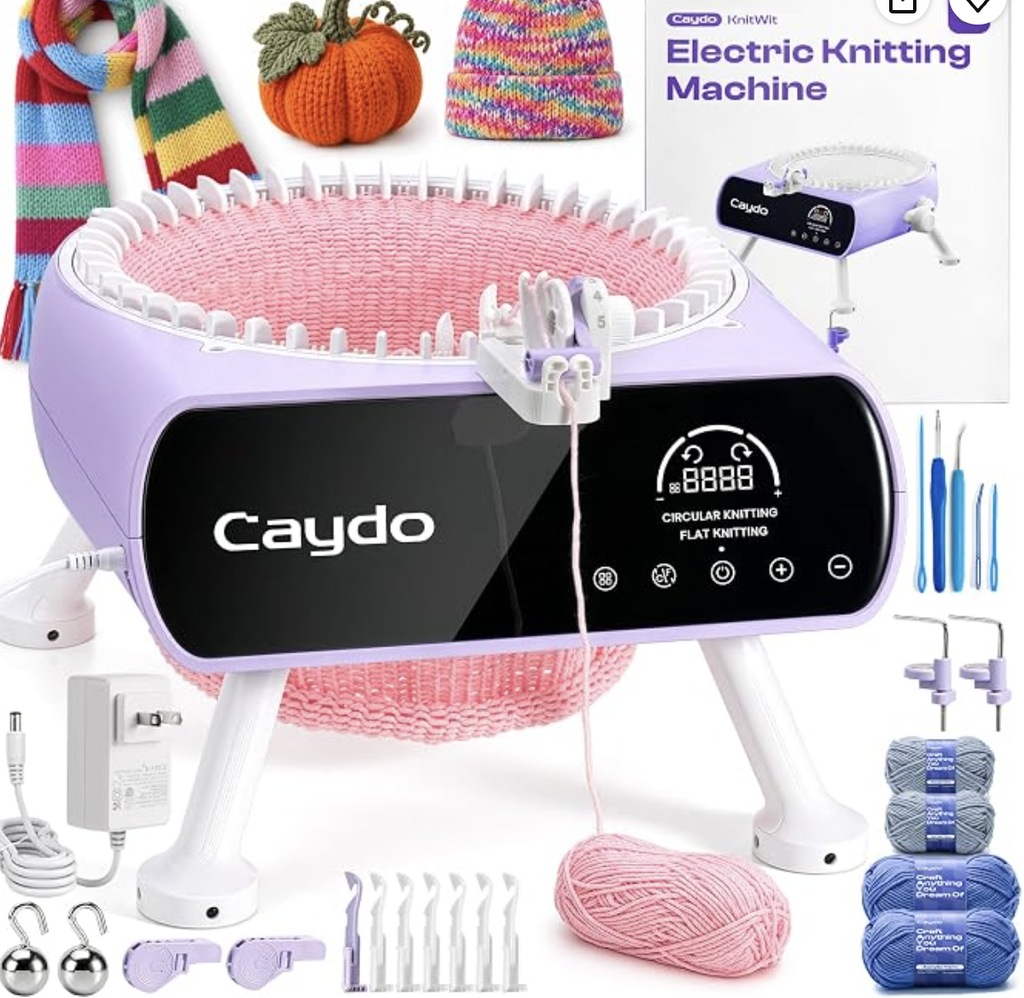
In this tutorial, I’ll show you how to make a Viral Baseball Cap Ear Warmer on a Sentro Knitting Machine. I’ll be using my Sentro and Caydo circular knitting machines to create my own version, including the ear flaps and finishing details.
If you love trying new knitting machine projects, this is a fun accessory to add to your handmade wardrobe!
Table of Contents
Materials Needed to make the Viral Baseball Cap Ear Warmer on a Sentro
- Knitting machine: Sentro 48 or Caydo M1 Pro circular knitting machine
- Yarn: Approximately 50 g of worsted weight yarn
- Crochet hook: 4 mm
- Stitch markers: To mark important points while shaping the ear flaps
- Scissors
- Tapestry needle: To weave in the ends
How to make the Viral Baseball Cap Ear Warmer on a Sentro Knitting Machine
Step 1: Knit the Main Tube
Start at the top of the ear warmer using tube mode. Knit 3 rounds with waste yarn, then change to your main color.
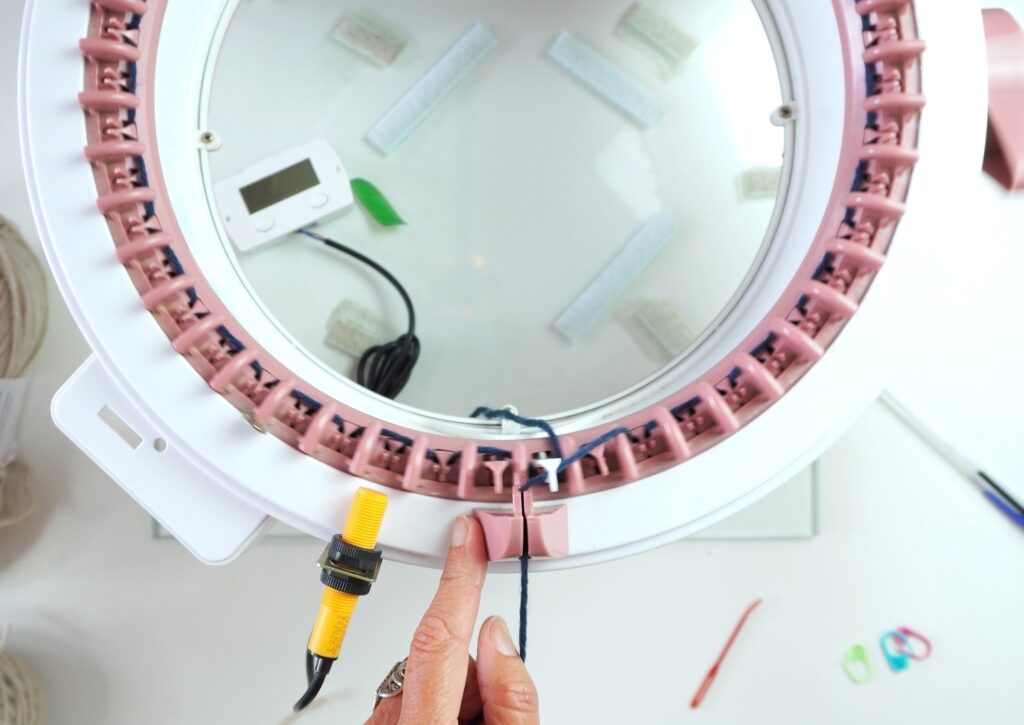
Continue knitting for 16 to 18 rounds, depending on how deep you want the ear warmer to be.
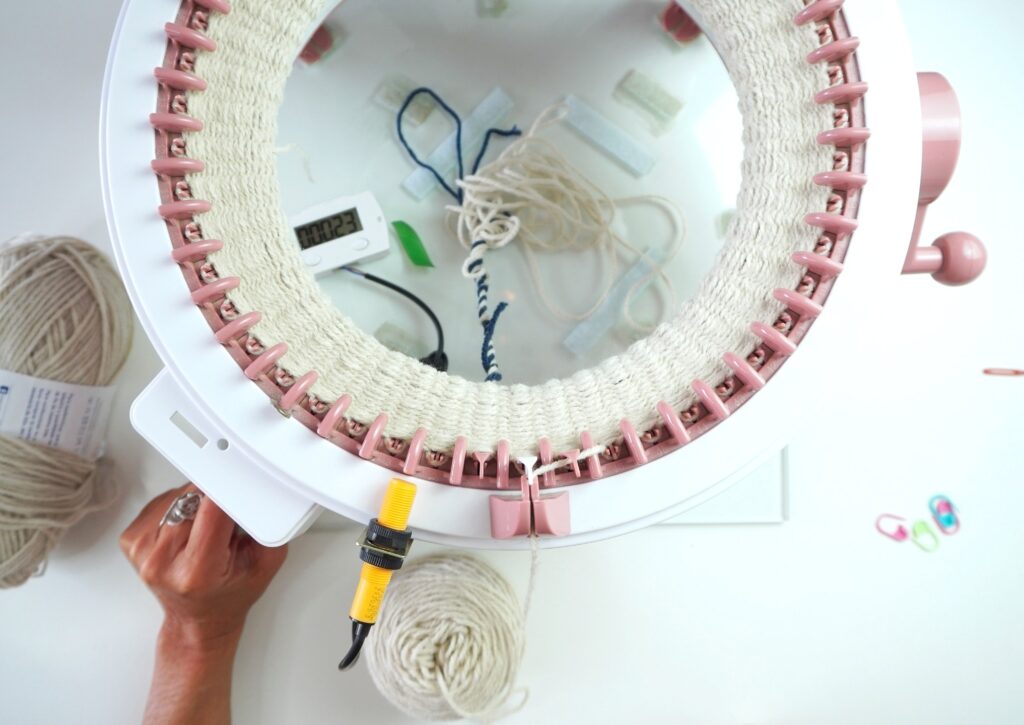
Step 2: Mark the Ear Flaps
With the tube still on the machine, place your stitch markers to divide the stitches into sections.
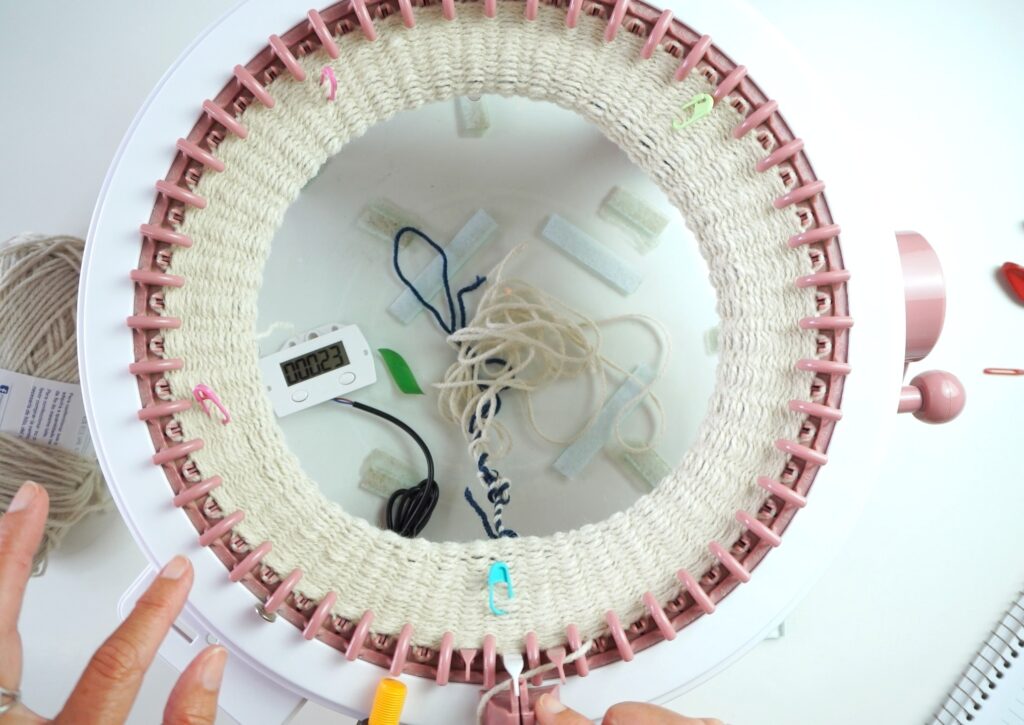
Starting at needle 1, count 11 stitches and place a marker to mark the first ear flap. Skip the next 9 stitches, which will form the back section of the ear warmer, then place another marker to mark the second ear flap. Count another 11 stitches and place a marker. The remaining stitches will form the front section.
Step 3: Separate the Sections
After marking the sections, knit the first 11 stitches for the first ear flap. Do not cut the yarn.
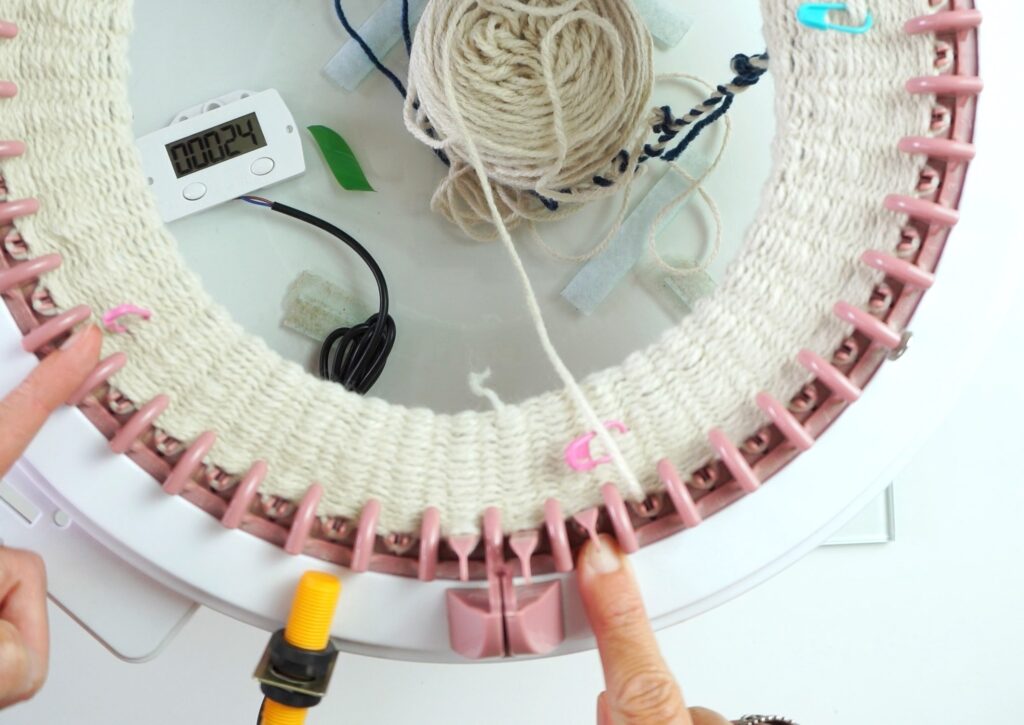
Remove the next 9 stitches for the back section and cast them off. Then, using a tapestry needle and waste yarn, remove the stitches for the front section from the machine.
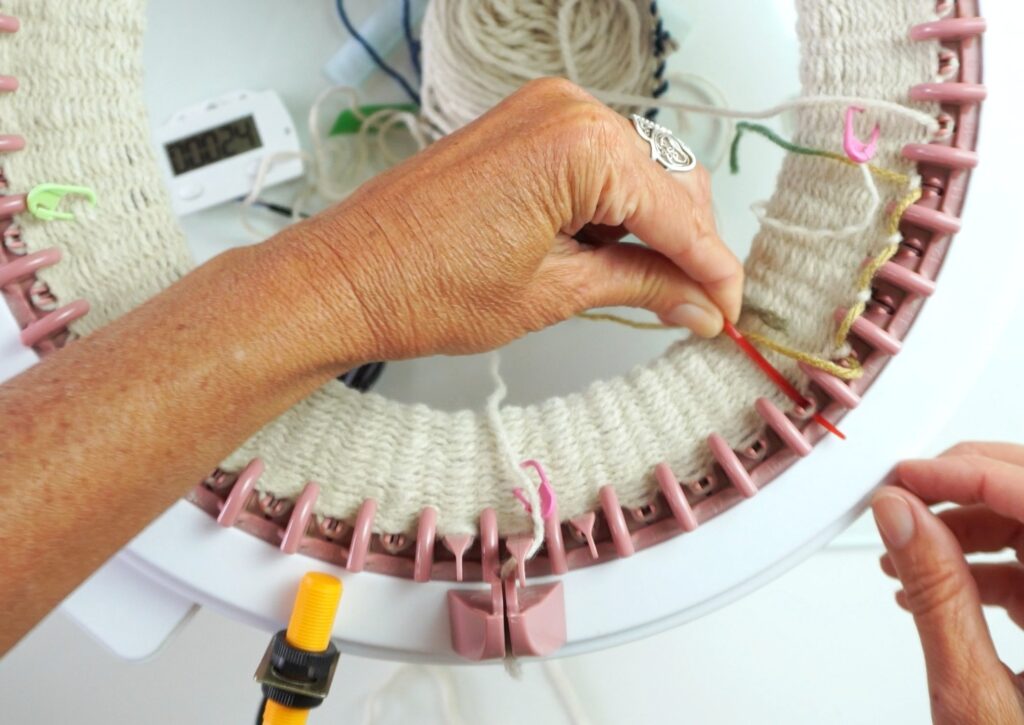
With the working yarn still attached, you can now go back to the first ear flap and begin knitting it separately.
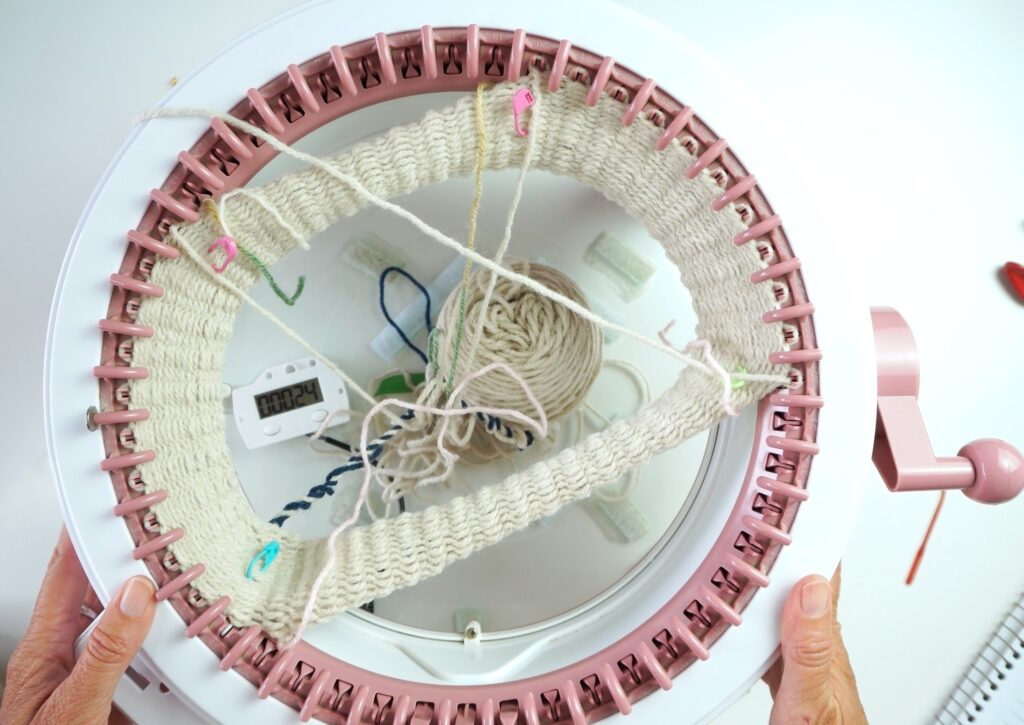
Step 4: Shape the Ear Flaps
Work the first ear flap in rows. Knit 5 rows, then decrease 1 stitch at each end of the next row. Continue knitting 5 rows between decreases, decreasing 1 stitch at each end each time.
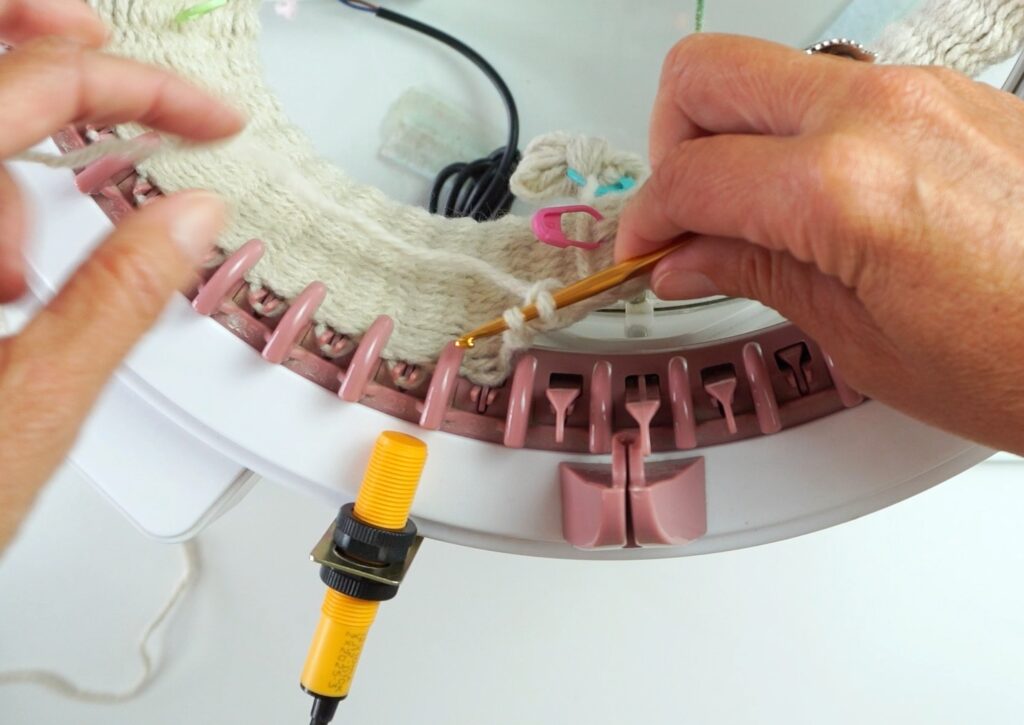
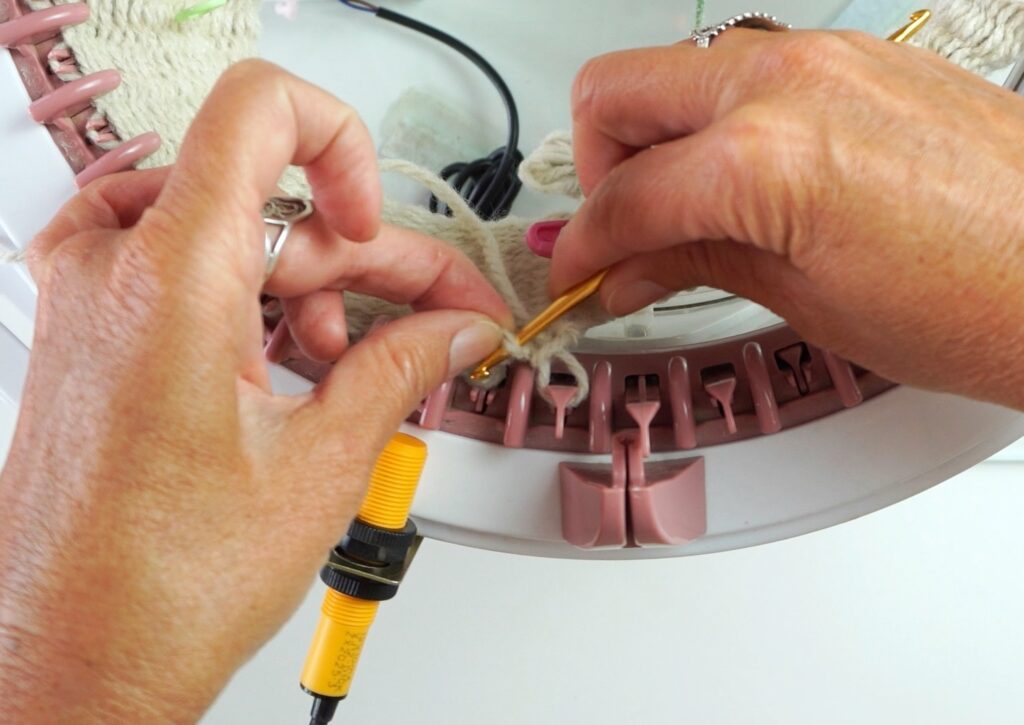
Repeat this process until you have either 3 or 5 stitches remaining, depending on how thick you want the I-cord ties to be.
Step 5: Knit the I-Cord Tie
Once you have 3 stitches remaining for a thinner tie or 5 stitches for a thicker tie, continue knitting an I-cord for approximately 100 rows, or until you reach your desired length.
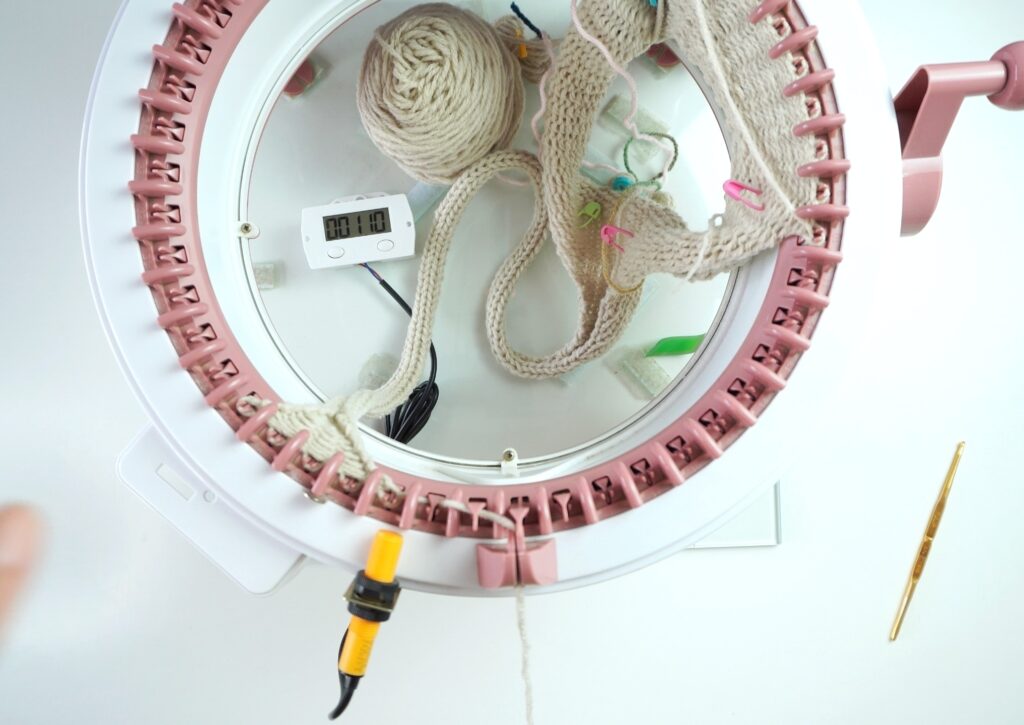
To finish, cast off using the same yarn and pull the yarn tail to cinch the end securely.
Step 6: Make the Second Ear Flap
Repeat the same process for the second ear flap, shaping it with decreases and finishing with an I-cord of the same length.
Step 7: Bind Off the Bottom Edge
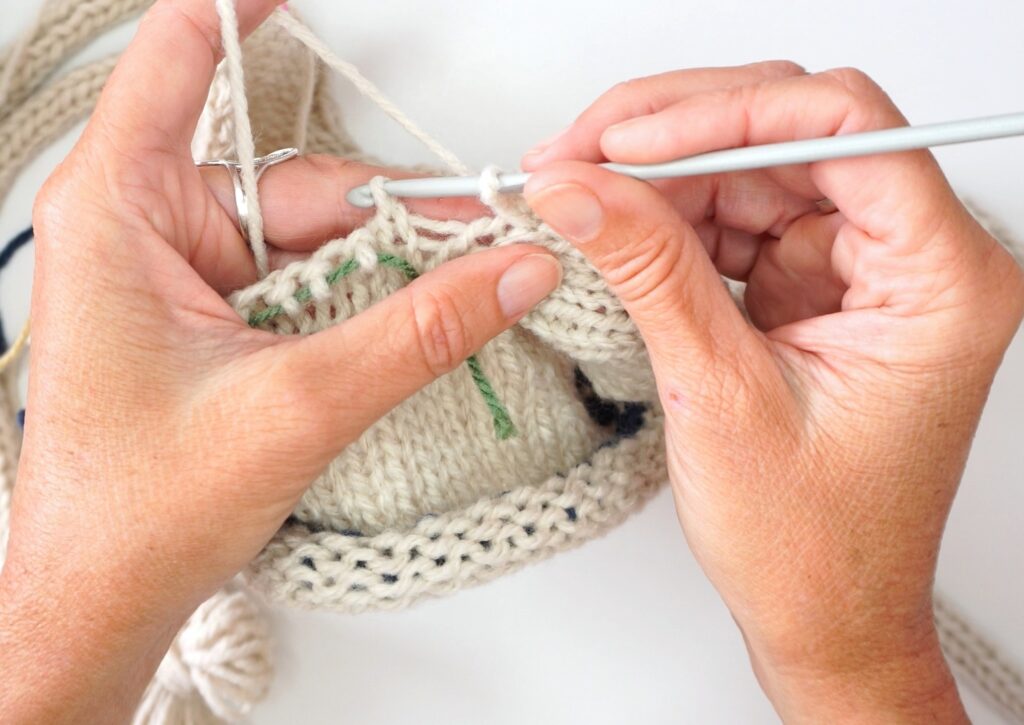
Once both ear flaps and I-cord ties are finished, use a 4 mm crochet hook to bind off the remaining stitches along the bottom edge of the ear warmer.
Step 8: Add a 2×1 Ribbed Edge (Optional)
For a more polished finish, you can add a 2×1 ribbed edge to the top of the ear warmer. If you’re short on time, you can skip this step and keep the simpler finish.
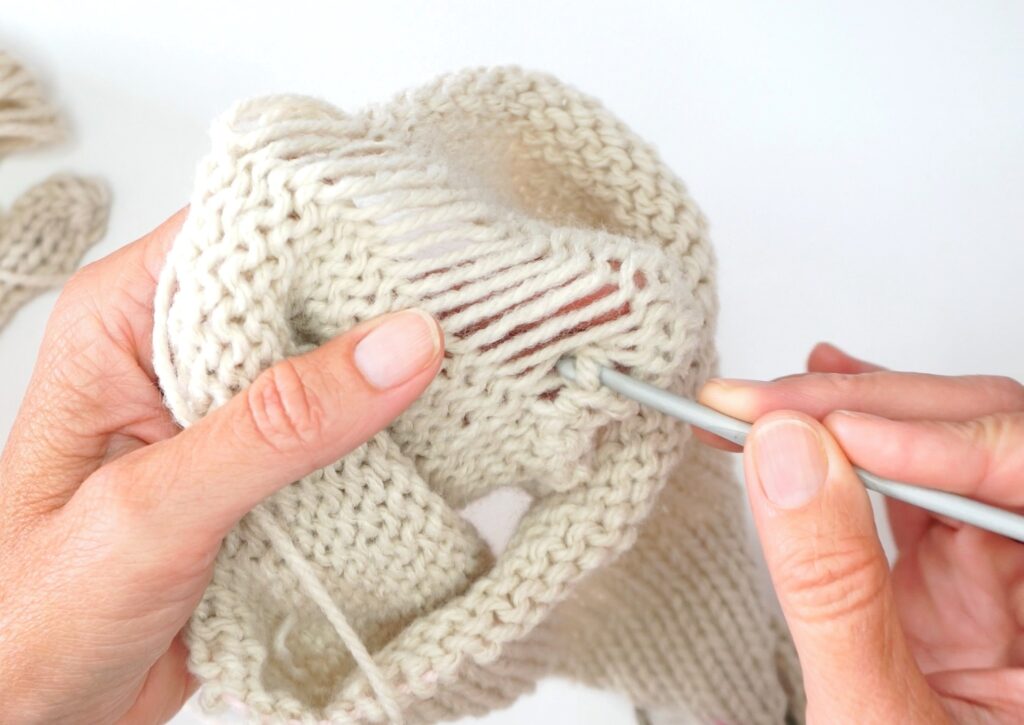
First, remove the waste yarn from the top by threading another piece of waste yarn through the live stitches with a tapestry needle. This will help you access each loop individually.
Next, choose one stitch and carefully unravel it all the way down to the bottom edge. Rework the dropped stitch on the opposite side to create a purl column.
Continue along the top edge, using a crochet hook to bind off the next 3 stitches, then unravel and rework another stitch to create the next purl column. Repeat this sequence to create a 2×1 ribbing pattern.
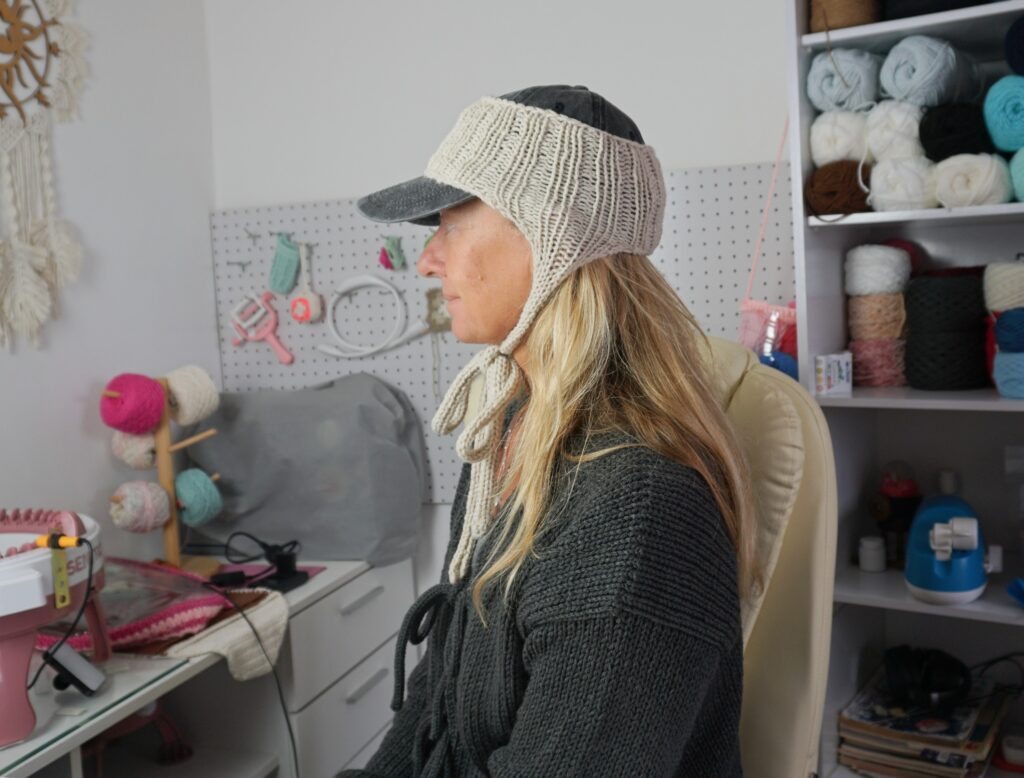
This optional detail adds texture and gives the top edge a more finished look.
Watch the Tutorial on Youtube
Final Thoughts
And that’s how to make your own Viral Baseball Cap Ear Warmer on a Sentro or Caydo M1 Pro knitting machine! I love how this design combines a fun, trendy look with something practical for cold and windy days. The long ear flaps and I-cord ties make it a great accessory for outdoor adventures, from checking the surf to going for a walk.
You can customize the length of the ear flaps and ties, choose your favorite yarn colors, and even skip the ribbed edge for a quicker project.
If you make your own, I’d love to see how it turns out! Leave a comment below and let me know which knitting machine you used. Happy knitting!
Explore the Pattern Shop

Have questions? Join the Facebook Group!
We hope this article was useful for you! If you have any additional questions, feel free to join my Facebook Group. We created this group for you to share pictures, ask questions, and help each other out.
Here are some other articles you may be interested in reading!

Sentro vs Addi Circular Knitting Machines
When it comes to circular knitting machines, the Sentro and Addi brands are among the …
How to make the Viral Baseball Cap Ear Warmer on a Sentro Knitting Machine
Have you seen the viral baseball cap ear warmer popping up all over social media? …

Double Brim Single layer Beanie on the Sentro 48
One of my favorite things about circular knitting machines is discovering little techniques that com…

Hi! I’m Fabiana, a crochet and knitwear designer with a passion for creating beautiful, functional pieces. I love experimenting with textures, colors, and patterns to craft everything from cozy sweaters to crochet tops and swimwear. On my YouTube channel, I share tutorials, tips, and behind-the-scenes looks at my design process. Crochet and knitting are more than hobbies, they’re my way of life.
Thanks for getting to know me!
Happy knitting!
