
One of my favorite things about circular knitting machines is discovering little techniques that completely change the final look of a project without making it more complicated. This beanie is the perfect example of that.
At first, it looks like a regular tube beanie made on the Sentro 48. But after knitting 40 rows, the first row is folded up and placed back onto the machine one stitch at a time. This creates a clean double layer brim while the rest of the hat stays as a single layer. The result is a warm, stretchy, professional looking beanie with almost no finishing work.

The best part is that once you cinch the top closed and hide the yarn tails, the beanie is completely finished and ready to wear.
This project works beautifully on both the Sentro 48 and the Addi King knitting machine.
Table of Contents
Materials Needed
- Sentro 48 or Addi King knitting machine
- Medium or worsted weight yarn
- Yarn needle
- Scissors
- Crochet hook for fixing dropped stitches if needed
Why This Double Brim Single layer Beanie on the Sentro 48 Method Works So Well
The folded brim creates extra warmth around the ears without making the whole beanie bulky. Because only the brim is doubled, the crown stays lightweight and comfortable to wear.

It also gives the hat more structure and helps the brim stay in place naturally without rolling.
Another reason I love this technique is that there is no separate brim to sew later. The fold is created directly on the machine as you knit, making the project fast and satisfying.
How I Made This Double Brim Beanie
Step 1: Cast On
I started by casting on the Sentro 48 in tube mode using waste yarn for around 4 rows, then switched to my main yarn. The waste yarn on the beginning will help to see the stitches easier on the next step.

Step 2: Knit the First 40 Rows
I knitted 40 rows normally in a continuous tube. These first rows will eventually become the folded double brim.
You can adjust the number of rows depending on how deep you want the brim to be.

Step 3: Fold the First Row Back Onto the Machine
After reaching row 40, I carefully folded the beginning edge upward.
Then, one stitch at a time, I placed each stitch from the first row onto the corresponding needle currently holding the live stitches on the machine.
Each needle now held two stitches:
- the original live stitch
- one stitch from the cast on edge
This creates the folded double brim directly on the machine.


Step 4: Knit the Joining Row
As you put each stitch on top of the other the 2nd loop is used to make the stitch and close the folded brim. This joins the folded brim to the beanie and locks the double layer in place.
Once all stitches from the first row were placed back onto the needles, I slowly knitted the next round.
After this row, the brim becomes permanently folded and beautifully finished.
Step 5: Continue Knitting the Hat
I continued knitting normally for an extra 30 rows for adults and 20 rows for kids.
The upper part of the hat remains a single layer, which keeps the beanie lighter and less bulky at the crown.

Step 6: Cinch the Top Closed
Once the beanie was long enough, I removed the stitches from the machine and threaded the yarn through all the live stitches using a yarn needle.
Then I pulled tightly to cinch the top closed. After securing the yarn, I hid both yarn tails inside the hat. And that was it. The beanie was finished.
Tips for a Cleaner Folded Brim
- Place the stitches back slowly to avoid twisting them
- Use a smooth yarn for your first attempt since textured yarn can make the fold harder to see
- make sure each stitch is made when you put them back on top of the other one
Watch the Video Tutorial:
FAQs
Is the Double Brim Single layer Beanie on the Sentro 48 beginner friendly?
Yes. If you already know how to make a basic tube on the Sentro 48, this is a great next project to try.
Can I make the Double Brim Single layer Beanie on the Sentro 48 on the Addi King?
Yes. The exact same method works on the Addi King 46 needle machine but it will make a slighly smaller beanie, so I don’t recommend making for a men.
How many rows should I knit for the brim?
I used 40 rows, but you can make the brim shorter or deeper depending on your preference, for kids I knit only 30 rows.
Does the brim of the single layer beanie made on a Sentro knittinng machine stay folded?
Yes. Because the folded edge is knitted directly into the live stitches, the brim stays permanently in place.
What yarn works best for the Double Brim Single layer Beanie on the Sentro 48?
Medium weight yarn works best for a stretchy and balanced beanie. Avoid yarns that are too stiff or extremely thin.
Can I add a pom pom on the Double Brim Single layer Beanie on the Sentro 48?
Absolutely. This style looks beautiful with or without a pom pom.
Conclusion
This double brim beanie is one of those projects that looks much more advanced than it actually is. The fold over technique creates a polished finish, extra warmth, and a comfortable fit while keeping the process simple and fun.
If you enjoy quick knitting machine projects that look handmade and professional at the same time, this is definitely a beanie worth making again and again.
Explore the Pattern Shop

Have questions? Join the Facebook Group!
We hope this article was useful for you! If you have any additional questions, feel free to join my Facebook Group. We created this group for you to share pictures, ask questions, and help each other out.
Here are some other articles you may be interested in reading!

Sentro vs Addi Circular Knitting Machines
When it comes to circular knitting machines, the Sentro and Addi brands are among the …

Double Brim Single layer Beanie on the Sentro 48
One of my favorite things about circular knitting machines is discovering little techniques that com…

Heart Ear Warmer on a Sentro 40 Needles
This Heart Ear Warmer on a Sentro 40 Needles is one of those designs that …

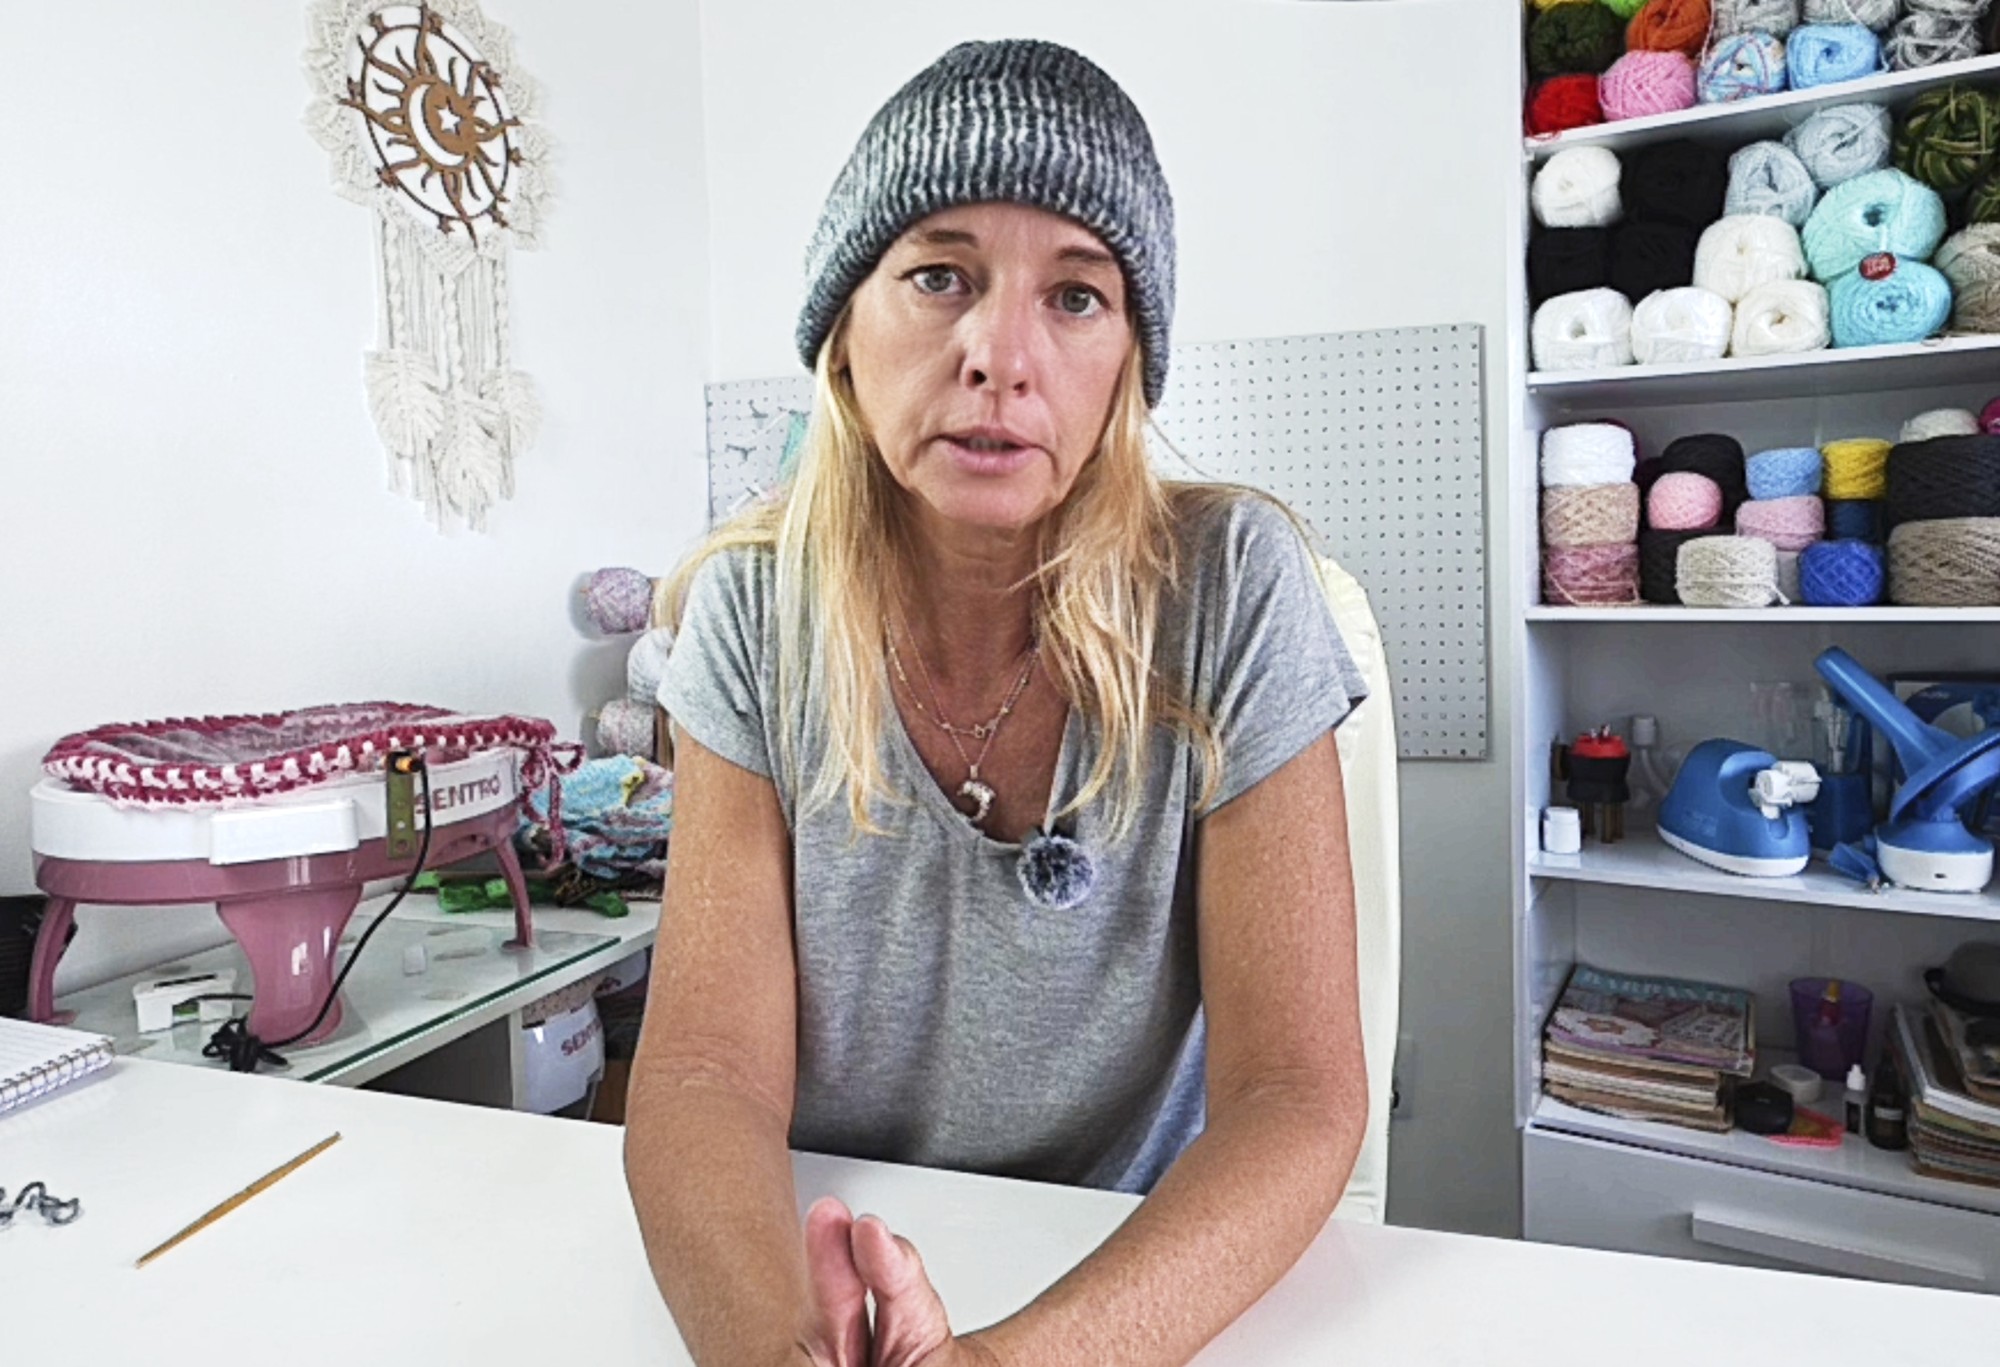
Hi! I’m Fabiana, a crochet and knitwear designer with a passion for creating beautiful, functional pieces. I love experimenting with textures, colors, and patterns to craft everything from cozy sweaters to crochet tops and swimwear. On my YouTube channel, I share tutorials, tips, and behind-the-scenes looks at my design process. Crochet and knitting are more than hobbies, they’re my way of life.
Thanks for getting to know me!
Happy knitting!
